Pre-Funding your account in Clicki
Setting Up Pre-Funding for Your Account
Link to Loom
https://loom.com/share/a98d3b3c53424be981b3631df552ef4f
Objective
This SOP outlines the steps to set up pre-funding for your account, ensuring efficient cash management and automation.
Key Steps
1. Accessing the Billing Section 0:00
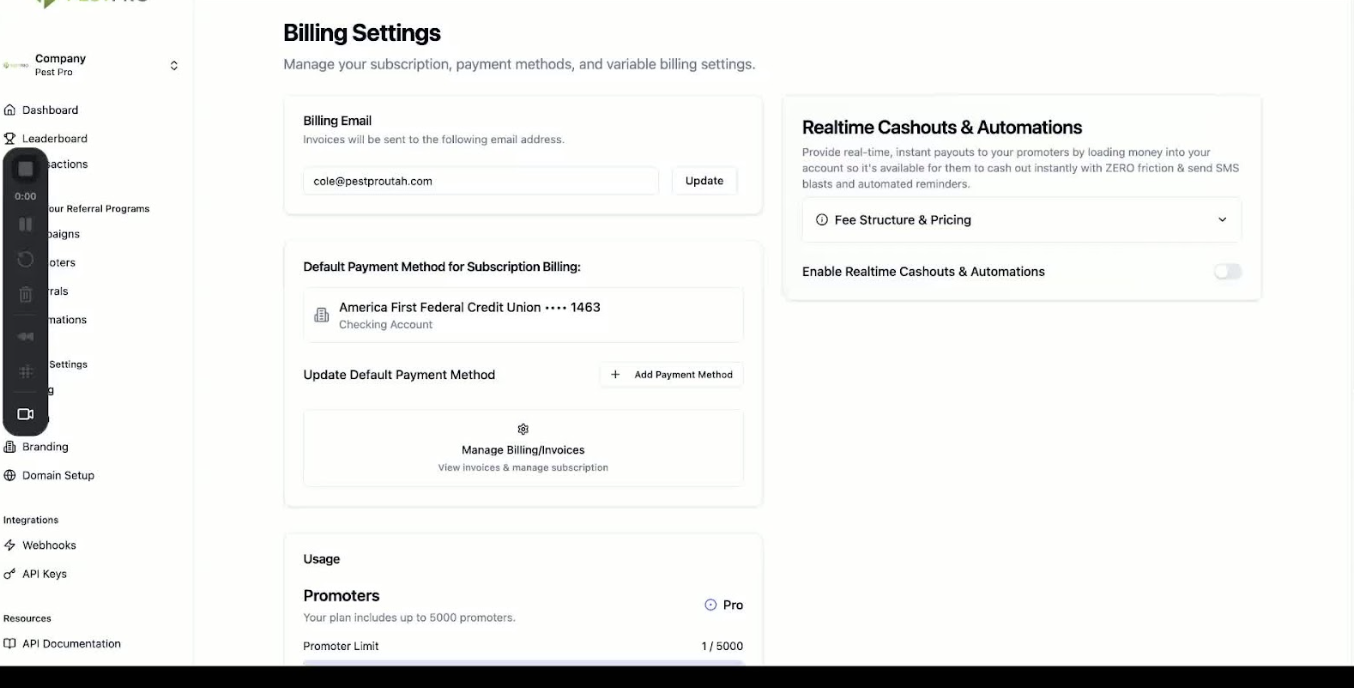
Log in to your dashboard.
Navigate to the Billing section on the left side of the screen.
2. Viewing Subscription Information 0:18
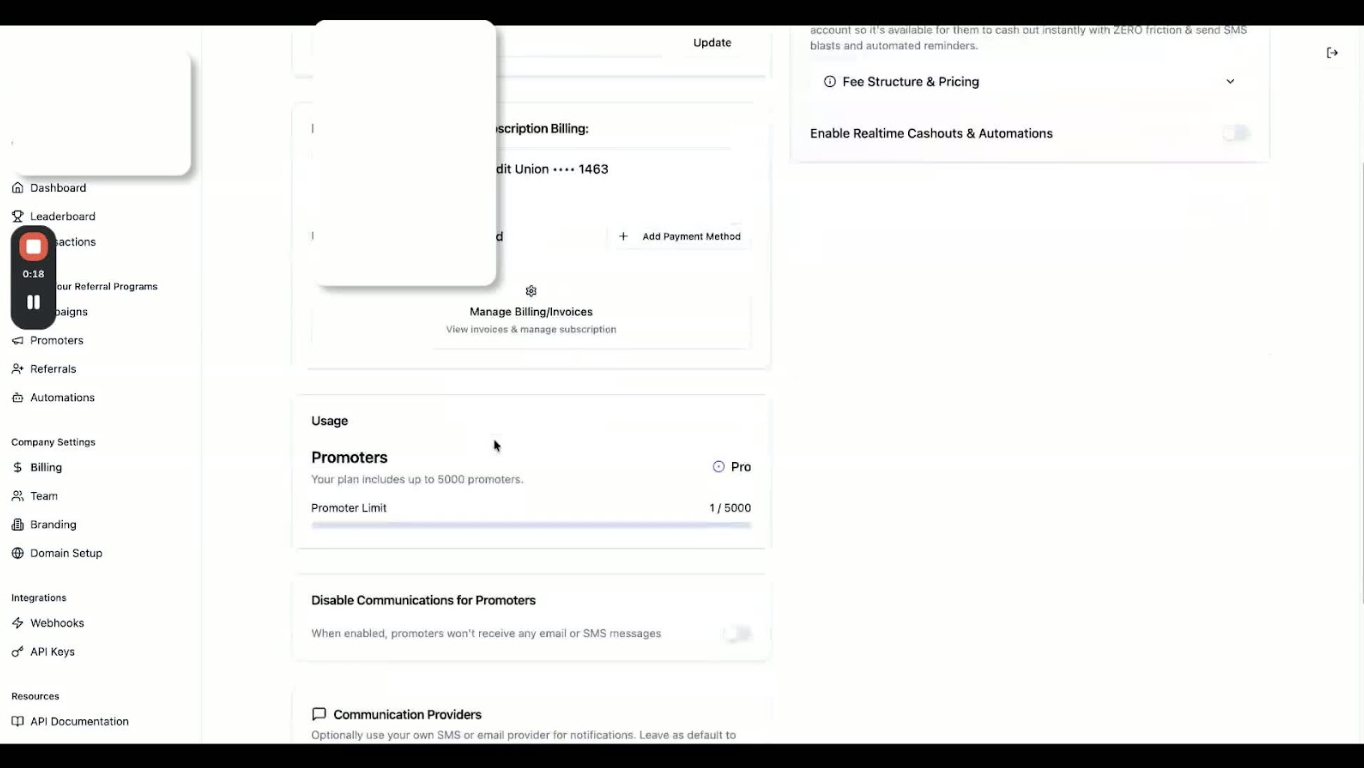
On the left-hand side, review your subscription information and promoter account details.
3. Checking Real-Time Cash-Outs and Automations 0:26
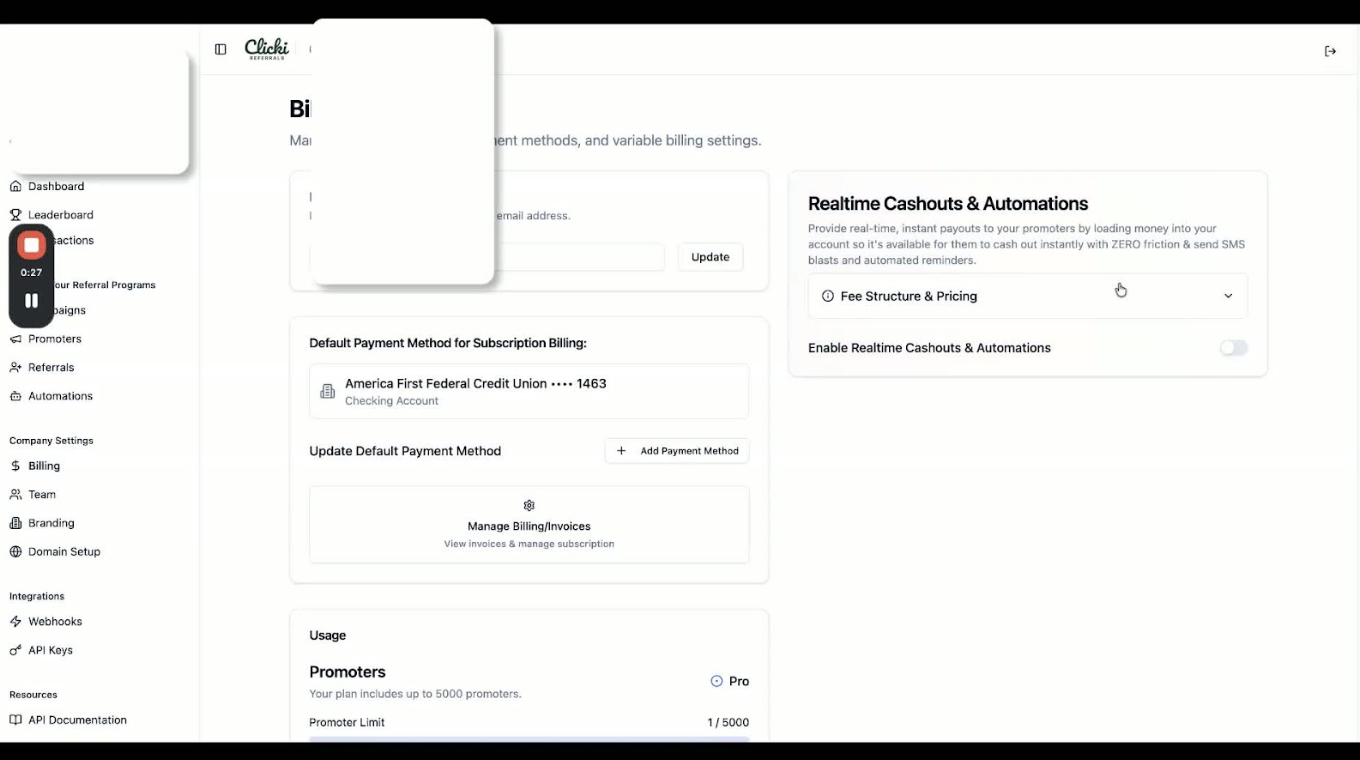
On the right-hand side, locate the real-time cash-outs and automations section.
4. Understanding Fee Structure 0:26
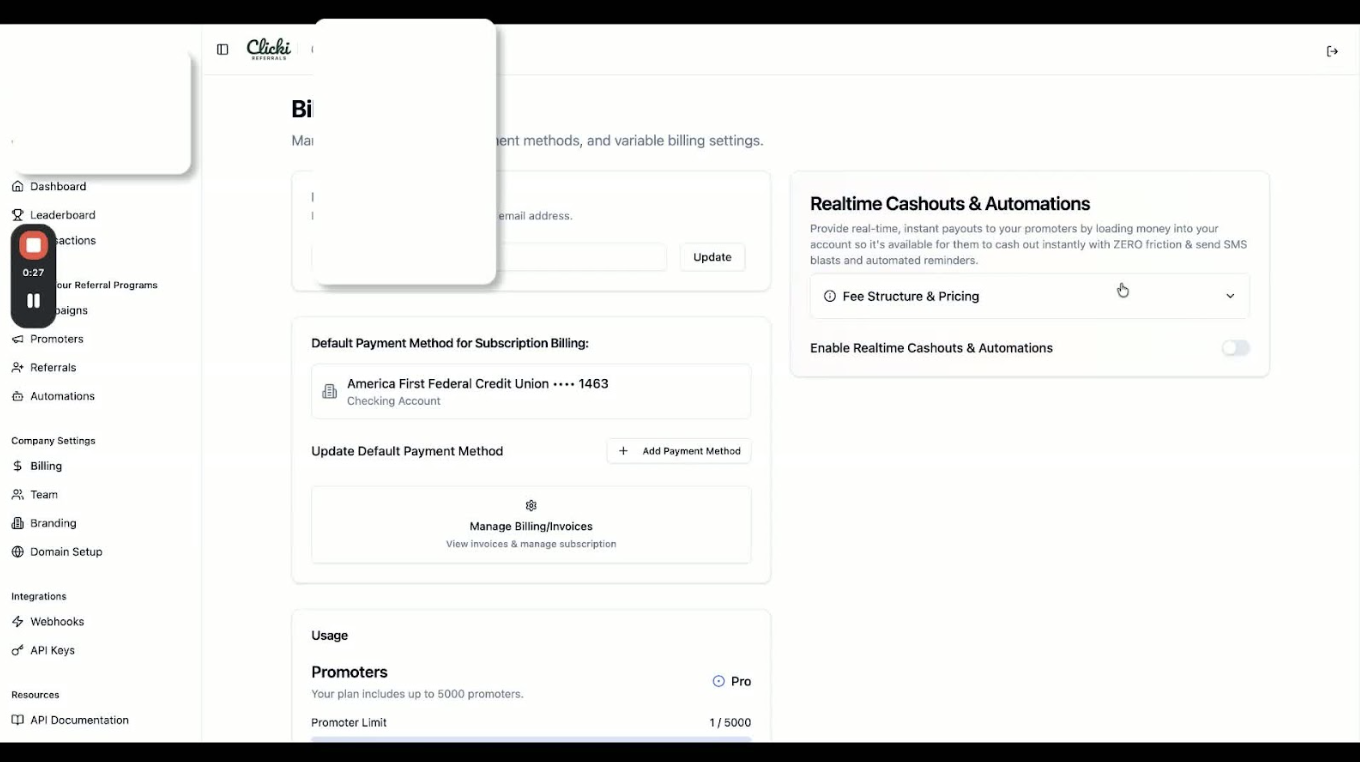
Click the drop-down to view your fee structure and pricing:
ACH: 1.5%
Credit Cards: 5%
Note that these fees are due to the use of two payment processors: Stripe and DOTS.
5. Enabling Real-Time Cash-Outs and Automations 0:43
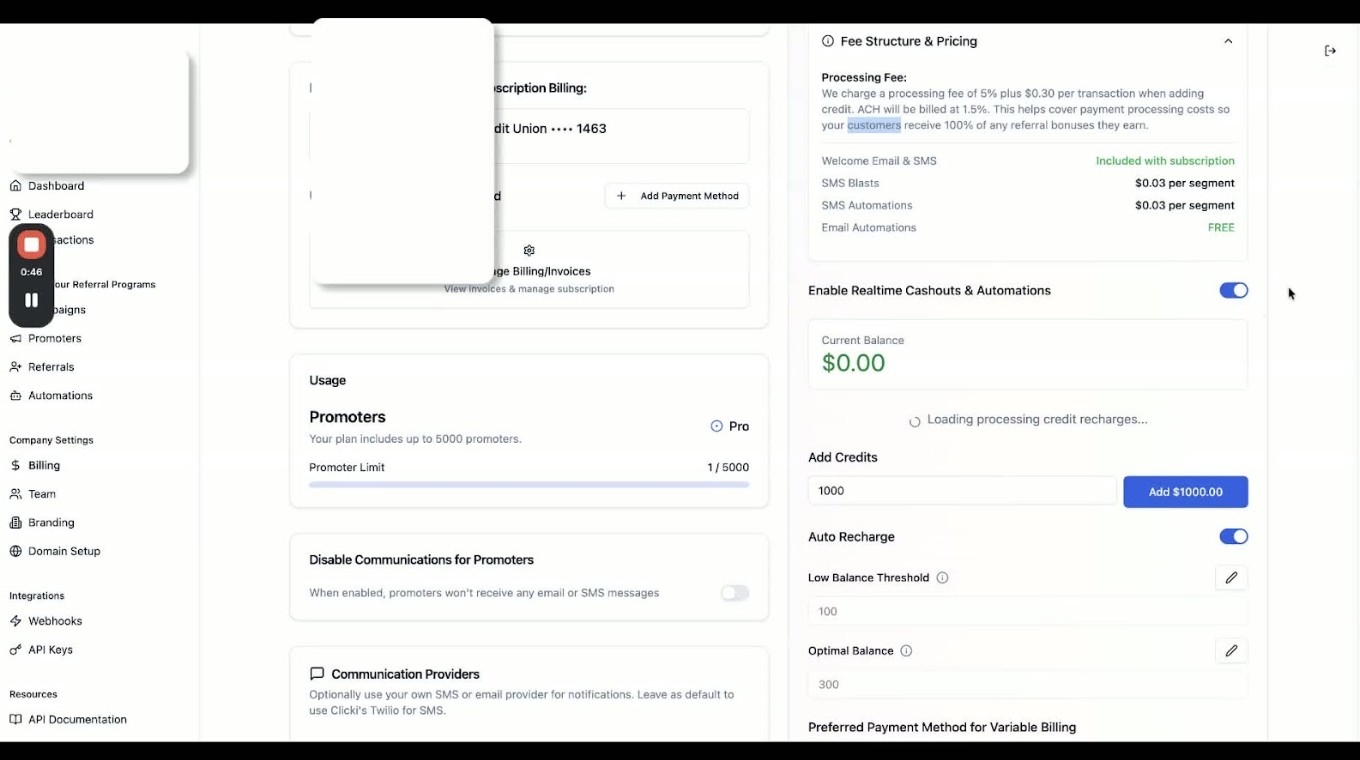
Click on enable real-time cash-outs and automations.
Set your pre-funding amount:
Recommended: 5 times your referral amount.
For ACH: 8 to 10 times due to fund transfer delays.
6. Setting Balance Thresholds 0:57
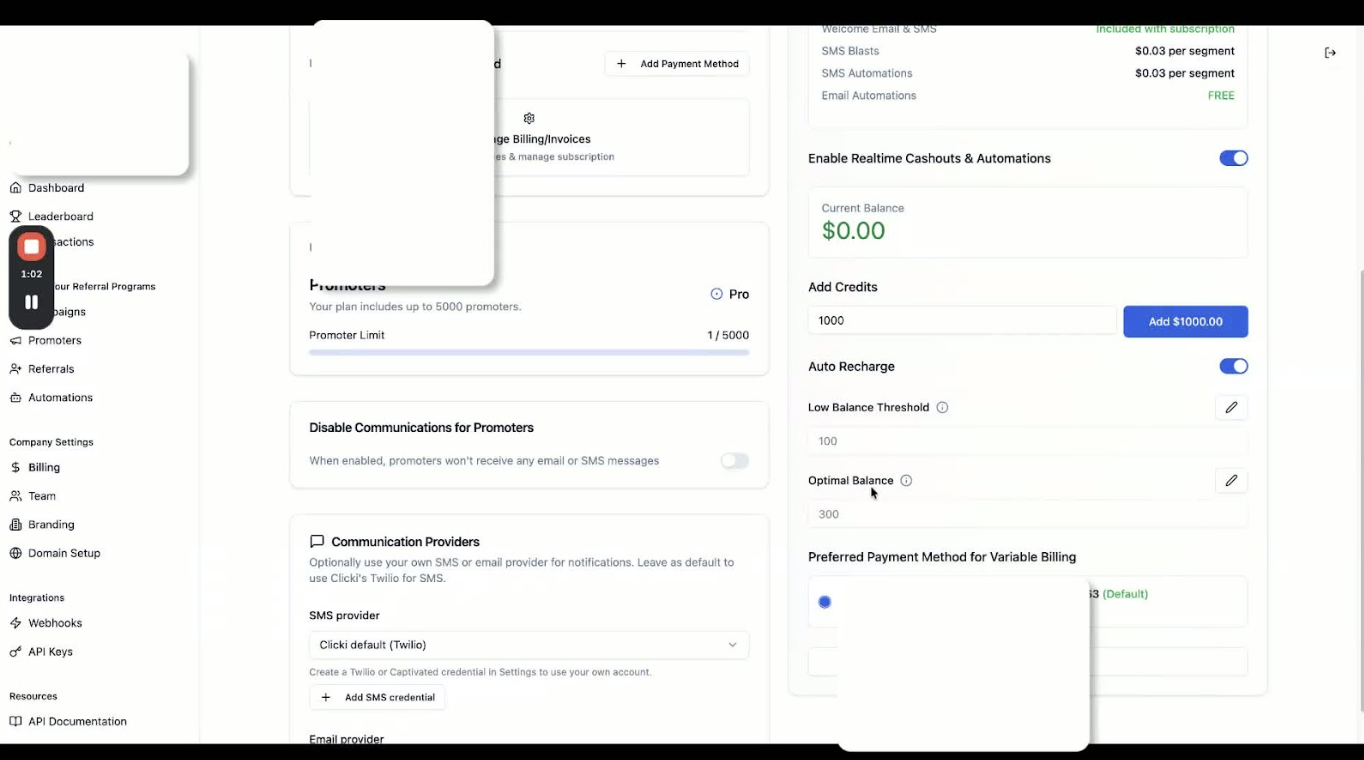
Adjust the low-balance threshold and optimal balance using the pencil icons.
7. Changing Payment Information 1:11
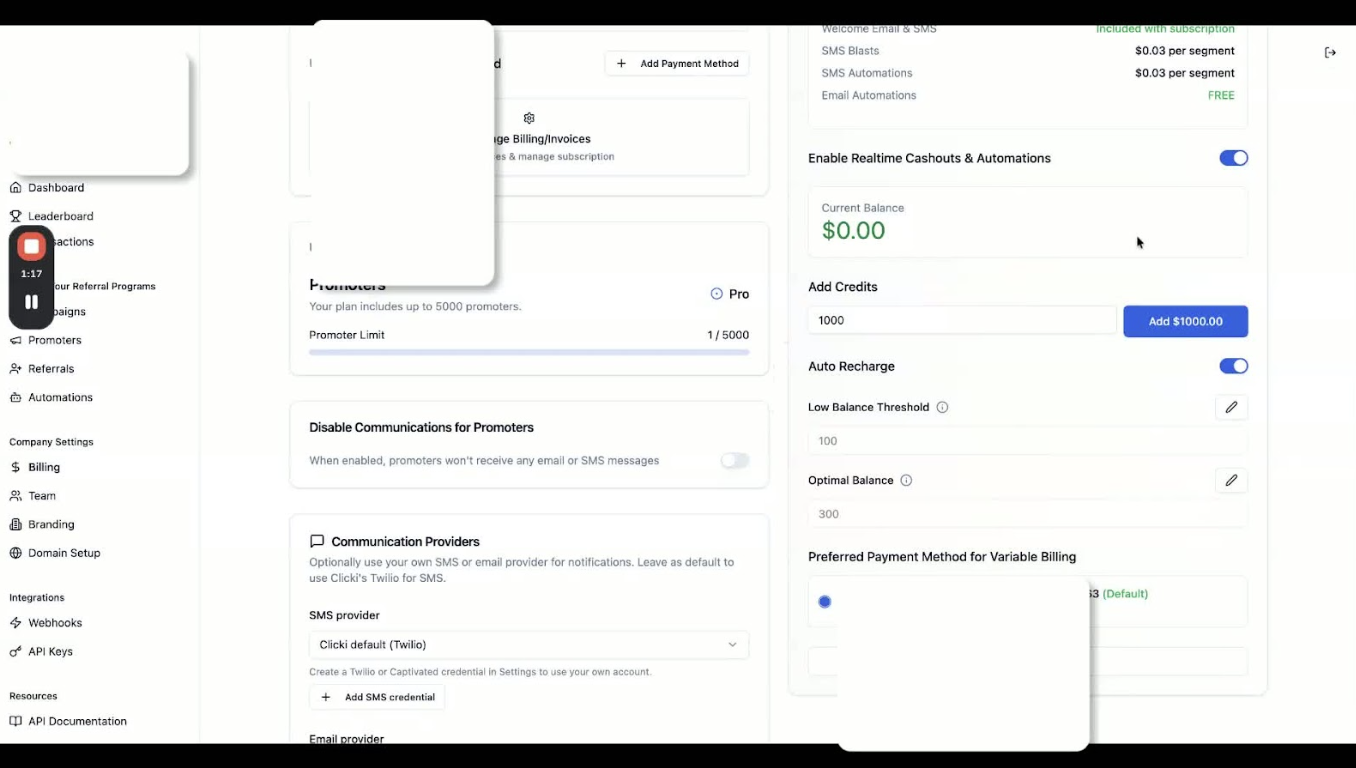
If needed, change your payment method to ACH or request wiring information by contacting support.
Cautionary Notes
Ensure you understand the fee structure before setting up your payment method.
Be cautious when setting your pre-funding amounts to avoid cash flow issues.
Tips for Efficiency
Regularly review your balance thresholds to ensure they align with your cash flow needs.
Keep your payment information updated to avoid delays in cash-outs.